


How to Use a Compressor: The End All Guide
“The sound of modern records today is compression.”
— Jerry Finn (mixing engineer for Green Day, Blink-182, and Sum 41)
There are many reasons you may want to use a compressor in your productions.
But, it’s more important to know the two reasons why you should NOT reach for a compressor, so let’s start there:
- You don’t know why you’re using a compressor
- The signal doesn’t need to be compressed
Ok, simple enough, but easier said than done.
So, when SHOULD we think about using a compressor?
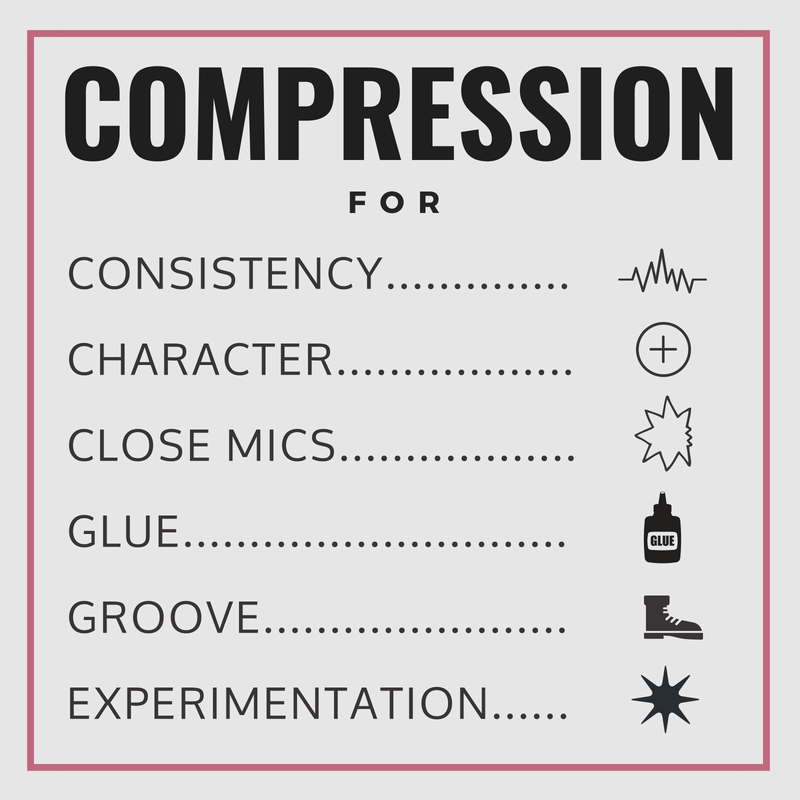
- It’s hard to find a static volume level in your track. The louds are too loud, and you can’t hear the quiet parts. Here you need Compression for Consistency.
- You crave the delicious flavor of a vintage compressor, and are using Compression for Character.
- The instrument was recorded with a microphone. We’ll call this Close-Mic Compression.
- You want to glue several sounds together to make them feel like one cohesive element. This is an essential technique — it’s called “Mix”, “Bus,” or “Glue” Compression.
- You want a signal to duck in volume when another instrument plays. This is called Sidechain Compression, and it breathes life and movement into your productions.
- You’re going for Sheer Experimentation. You learned the rules, so now go ahead and break them!
1. Compression for Consistency
In Dynamics in Music: The Key To Emotional Productions, we talked about how change is precisely what makes any performance feel human. Many musical ideas can gain weight when their opposites are included. In a simple example, a beautiful, lightly fingerpicked guitar performance will feel more emotional by including its contrasting element — a heavier strummed section.
The distance, departure, and difference create a foreground and a background, providing depth and context to a song.
Alright, so now you’ve recorded a highly emotional guitar performance. The one where you started soft, then really dug in for the final chorus. You’re sweating, there’s a baby crying outside, and you realize you haven’t had a glass of water in 4 hours. What next?
First the water. A walk around the block wouldn’t hurt either. Now, when you look at the track in your DAW, there are huge peaks near the end and you can hardly see the transients in the first two verses. You, my friend, have shredded your way straight into mixing hell.
Compression is NOT the answer to escaping this mixing labyrinth — you’ll end up as the minotaur’s lunch. The compressor settings that work to reign in your loud chorus won’t get your soft verse where it needs to be unless you flatten the living daylights out of the whole track.
If you’re stuck with the recording, try a technique called “multing” — here, you split the louder parts off to a new track and process them separately for more targeted balancing and control.
But, like most areas of production, the best answer lies in a thoughtful composition.
If you’re recording, aim for a performance where you can retain those differences in texture at a more consistent volume. Try to play loud and project even when you fingerpick, and keep your strums manageable and contained.
Compressing on the way in can help, too. If you’re an electric guitar or bass player, the Xotic SP compressor can straighten things out during tracking. If you’re recording an acoustic — keep doing that! It adds a great human feel to any track. For guitars, you can get away with higher ratios (like 4:1 or 8:1), and reasonable amounts of gain reduction (try starting with 3-5 decibels).
When compressing for consistency, your top focus should be gain reduction for your loudest peaks. After compression, you should be able to hear the softer parts more clearly without the loud transients poking through. Check out the further reading section for resources on setting the threshold, attack, and release settings of a compressor to achieve proper gain reduction.
This also helps with loudness. If you want to learn more about LUFS and the loudness war, check out The Ultimate Guide to Loudness.
2. Compression for Character
It’s no secret that vintage hardware compressors are loved for their ability to add more than just gain reduction to a signal.
Many engineers will use classic designs (or software emulations) of the Teletronix LA-2A, Universal Audio 1176, or Fairchild 670 for their distinctive sonic and harmonic richness. You could thrill your friends and family by taking out a second mortgage for a Fairchild, or go straight to flavortown with software compressors like Klanghelm’s MJUC, Waves CLA and PuigChild emulations, or Universal Audio’s excellent models.
It can be tempting to dial in extreme amounts of gain reduction and make-up gain, which tricks you into believing the signal sounds better because it’s louder and more saturated. But, when compressing for character, focus on the tonal changes of the compressor without applying any gain reduction or make-up gain. That said, don’t be afraid to dime the knobs and hear what happens at the outer limits of normal operation. Gain reduction may be your goal, but that’s just icing on the $40,000 tube-rectified cupcake.
3. Close-Mic Compression

If I was speaking in your ear, you’d be a lot more sensitive to changes in level than if we were chit-chatting at a crosswalk.
Our ears have become accustomed to heavy amounts of compression on most everything we hear in a song. Live instruments are often recorded quite close to the sound source to capture the cleanest signal — but, microphones are extra sensitive to bass frequencies when the sound source is close, just like our eardrums.
With vocals, even a simple turn of the head can swing the balance of a recording enough to lose those syllables in the mix. What may feel like unnatural amounts of compression on recorded tracks are necessary for the mics to return a sound that’s more faithful to what we hear when someone sings or plays the violin in the same room as us.
If you recorded something with a microphone, chances are you can compress it. From subtle (1-3 db gain reduction) to moderate (3-6 db), you can use compression to make a live performance feel more level and professional.
When applying Close-Mic Compression, focus on replicating what you would hear if that instrument was in front of you. This normally involves gain reduction for short-term events (loud spikes), and over longer periods (from the verse into the chorus).
Using two compressors with less processing is always more effective and tonally interesting than forcing one to do the heavy lifting. Short-term gain reduction can be achieved with a quick attack and quick release to tame transient spikes, and setting an additional compressor with a longer attack and medium release times will apply gradual gain reduction over longer phrases.
4. “Mix”, “Bus”, or “Glue” Compression

Here’s an area where compression really shines. It involves processing two or more sounds together for cohesion.
When two seperate sounds run through one compressor and have their transients shaped in the same way, the resulting sound feels more like one single element. When you eat a cookie, you don’t taste the egg, flour, and sugar separately. Glue compression is the heat that fuses ingredients together.
Glue compression is as simple as it is powerful. Set your compressor to its most gentle and transparent setting (slowest attack and quickest release), and keep the gain reduction seriously subtle (aim for 1-2 decibels).
There are many ways to compress multiple signals together. Note that they all use the same attack, release and subtle gain reduction logic. Here are some of the most common:
• Master Bus Compression - use glue compression to gel the whole song together.
• Group Compression - your drum bus, guitars, synth stacks, background vocals, or other groups of tracks will thank you for glue compressing them.
• Layer Compression - use this technique for gluing a sub and top bass together, or creating a cohesive percussion hit out of multiple samples.
• Compressing Doubles - make double-tracked vocals and guitars feel even more like one performance by applying glue compression.
When glue compressing, focus on fusing multiple sounds together to feel like one.
Sometimes "glue" isn't enough and you need to layer. That’s why I put together an epic, FREE 90-minute workshop covering some of my favorite production techniques, layering included.
5. Sidechain Compression
Sidechain compression is the silver bullet to creating headroom, space, and groove in your music. You can use sidechain compression as an effect and as a creative mixing tool.
Sidechain compression as an effect
You’ve heard it before — the classic electronic sound of a bass ducking in volume when the kick hits. A four-on-the-floor kick pattern creates a rhythmic, quarter note pumping when sidechained to a compressor on the bass. It also creates valuable space in the low frequencies for the kick to shine through, reducing masking and clashing between the two instruments. Plugins like Nicky Romero’s Kickstart or Xfer Records LFO Tool can help you nail this vibe instantly.
Sidechain compression as a mixing tool
The possibilities of using sidechain compression to assist your mix are nearly endless. Set a compressor on any track, and tell it to listen to the signal from a different track — you can duck synth layers in response to your snare, guitars away from your vocal, and effects away from the source signal so they bloom in between phrases.
It’s worth repeating: sidechaining your effects (especially reverbs and delays) away from the main instrument will instantly add groove and space to a production.
When using sidechain compression, think about creating space and groove between two signals. I generally find that a quicker attack and release (10-25 milliseconds) works well for most cases. Does the sidechain compressor solve masking issues between the two instruments? Does it contribute to the overall sense of groove within the context of the mix? If so, let it ride.
Do be aware that huge dips in volume can sound a bit unnatural. Sometimes that can be just what you want — so start subtle and see how much you can get away with.
For further reading on sidechain compression, check out our article on achieving the ultimate kick-bass relationship.
6. Sheer Experimentation
Now that we’ve learned the rules, we’ll conclude by throwing rules out the window. Compressors can be used in new and experimental ways, so try something new next time you’re working on a track!
Try overcompressing field recordings or room microphones to give a sense of a space that’s larger-than-life. Or, try parallel compression — set up an aggressive compressor on a return channel and feeding your dry track into it (an alternative method is by using parallel processing racks in Ableton). EQ-ing to cut the mids beforehand will focus the compression on the highs and lows — this is a favorite technique of ours called New York Compression.
There are times when I reach for a compressor in the sound design phase. The OTT Compressor is a beast for colorizing synths to have a bright and upfront electronic sound. A little goes a long way, so it may help to exercise restraint and pull back on the Depth knob.
If you set up your effects via send & returns (also called aux busses), you have the ability to process the effects themselves. Use this to your advantage! A compressor after your reverb/delay will give the sense of a larger space because the sound isn’t fading out as quickly. Compression before these same effects reduces their tendency to over-react to loud signals.
Though it shouldn’t be your leading strategy, compression for the sake of trying something new can yield interesting and musical results.
Final Thoughts
Compression doesn’t occur within a vacuum. Compressors work as a link in the processing chain to produce a balanced and polished mix. If you’re interested in more resources on compression, see below. If you’re interested in diving deep into how these strategies converge within the processing chain for full mixdowns and compositions, you’ll learn a lot from our Mix Master Flow and Hyperbits Masterclass courses.
There’s a lot of information here, but I hope your deepest takeaway is this: compression was built for one purpose (to reduce the dynamic range of a signal), but it can be used to achieve many specific results within a mix. You can use a compressor for evening out a performance, tonal enhancements, gluing sounds together, trying something new, making microphones sound more natural, or sidechaining to create headroom, space, and groove in your track. Chances are, you’ll use a compressor for all of these purposes within a single song.
Still, it’s important not to abuse compression, because if the dynamics are totally gone, so is the emotion of the original performance. So, keep it subtle and keep it dynamic.
Further Reading
Hyperbits Ultimate Guide to Multiband Compression