

Stereo Imaging: The Complete Guide to a Wide Mix
"I have played all around the world and at about 800 clubs and 120 festivals and they were 99% stereo for god's sake. If you play in a mono club then it's not a club. It's a cheap bar with cheap shots."
— Mario Egeto
To explain Stereo Imaging in-depth, let’s start with something obvious: we have two ears (shocker, I know). Much like how having two eyes allows us to have stereoscopic vision and perceive depth, having two ears allows us to hear in stereo – meaning our brains process audio from both the right and the left.
Hearing in stereo allows us to pinpoint where sound is coming from spatially. If it’s louder in the right ear and quieter in the left, then our brain interprets that the sound must be coming from the right, and vice versa.
The louder something is in one ear versus the other lets us know how far in a given direction a sound is coming from. If a sounding is coming from directly in front of us, it will reach both of our ears equally and our brains will let us know that it’s centered.
While not exactly width, a related and important item to note is that we can also perceive depth through the use of leveling, spacial effects, and making tonal changes. Generally louder tracks feel closer, and quieter tracks become more background. More reverb makes something sound more distant. Additionally tracks that are brighter, meaning they have more high-end, will make them appear closer to us, while darker elements will seem farther.
This guide will show you how to use how our ears and brain work to achieve a wide mix.
What is Width?
We perceive width when there is a difference in what we are hearing in each ear. Essentially, we aren’t really hearing width as much as we are hearing two different sounds panned to opposite sides so our brain tells us that there is sound coming to the side of us. The larger the difference between the sounds, the wider they will appear.
When dealing with digital audio, we are usually working with stereo files that contain a left and a right channel. Our playback source splits that and sends each signal to the corresponding output.
Become the Architect of Your Mix
When you are producing or mixing a song, you have the ability to place the different instruments in space based on importance. It’s almost like being a bandleader and deciding where to place each musician.
The vocals are almost always the most important element of a song, so you want them right in front of your face. Visualizing where you want each element of the mix to sit in space will help you make a more cohesive and pleasing mix.
What’s the Deal with Mono?
No, not the disease. Mono in audio refers to when a signal is monophonic, meaning instead of having two channels, it only contains one. When playing back mono on a stereo system, the same signal is sent to both channels. When dealing with mono it is impossible to have any width.
What gets a bit more complicated is when you playback a stereo input to a mono output. Let’s say you have your regular mix, but you only have a single speaker to play it back on. You will have to fold your song to mono to play it back, meaning squash both the left and right tracks together.
This can get really messy for several different reasons. Without getting into too much detail, folding to mono can cause:
- Phase issues. The similar signals on both ends while having minor differences can cause phase cancellation, meaning you’ll lose chunks of your audio. For a brief explanation of phase cancellation, check out this blogpost by Produce Like a Pro.
- Leveling changes. Pan law states that a sound being played equally from both the right and the left channel will be about 6db louder than a sound played out of just one side. When a mix has been leveled to work in stereo, folding it to mono can make the levels of the tracks that have been panned heavily to appear much quieter than they do in stereo. To learn more about Pan Law check out this article from Sound on Sound.
Do I Need to Worry About Mono Compatibility?
Historically, many systems were only capable of playing back monophonic audio. Clubs, radio, TV, phone speakers, and mini speakers are all examples of this. With the previously mentioned issues that can occur from mono folding, and so many playback systems being mono, it was extremely important that careful consideration was made when mixing that the song would fold to mono well.
Nowadays, almost all playback systems are stereo. Most phone speakers are stereo, clubs and festivals are mostly stereo now, and digital radio has allowed for stereo playback. While many will disagree with this, I believe that worrying about mono compatibility is a thing of the past.
I remember when I heard that under Steve Jobs’s direction the MacBook would no longer have an optical drive. I was shocked at the stupidity of Apple. Why would you intentionally create a more complicated experience for your users?
Ultimately though, this change allowed for slimmer computers, and ushered in a new age of downloads, and USB based storage. There’s a certain point where you shouldn’t limit the experience for a large number of consumers so that the minority is able to hold on to obsolete technology.
We are at a point now where making mix decisions that will negatively impact your mix just for the sake of mono compatibility is not the right call. I also firmly believe that a mix that sounds good, will sound good even if it’s in mono, or played on subpar systems. Many of the issues that will cause problems in a mono mix, won’t sound good in stereo either.
Should I Keep My Bass Mono?
Another hard take (I’m full of ‘em) – no. Let your bass be stereo. Mono bass is a remnant of when we were pressing music to vinyl and stereo bass would create issues with playback. Since we can now accurately replicate stereo bass on most playback systems, I think it is a cool creative decision to have stereo bass.
While I don’t think your bass needs to be totally mono and I enjoy some width to your bass, it is important to note that your bass should still sound focused and clear, and this is easier in mono. If there is too much width in your bass frequencies, things are going to start getting messy.
If you think all this talk about wide bass is craziness, just listen to 3X Grammy-winning mix engineer Jaycen Joshua (with credits like having mixed Despacito) talk about his thoughts on bass and width in this interview with Dave Pensado below. Jaycen Joshua has some of the tightest and biggest low-end of any mixer, and he loves to have width in his bass and 808s.
Pro Tip: Don’t Start Your Mix in Mono
There are some pieces of advice that I see given pretty frequently in online audio communities that are just poor advice. One of the myths I see spread frequently is that you should begin every mix in mono and then only switch to mono after working on a chunk of your mix.
This is a method that will hold back your mixing. Panning and width make up so much of a mix that you are just unnecessarily holding back your mix by not starting in stereo. I imagine this method became popularized because mixes sound way better in stereo and people enjoyed flipping their mix back to stereo and seeing how much better it instantly sounded. To me this is like trying to edit color photos on a black and white monitor then switching on colors halfway through.
Similarly, there is a mixing technique that was popular for a short period of time known as LCR mixing. With these mixes every element is either perfectly centered, all the way to the left, or all the way to the right. This too is just limiting for no real purpose. We have the ability to make things sound natural by building a full space and partially moving things to the sides, why would we not take advantage of that?
Enough Theory. How Do I Get a Wide Mix?
1) Panning
The first mode of attack when approaching width in your mixes is simply to pan tracks. There are three different types of panning
- Balance - the most standard form of panning. This is achieved by lowering the volume on one channel as opposed to the other. So for example, if you pan a stereo track all the way left using balance, you have essentially muted the right track.
- True Stereo Panning - With stereo panning, when you move a track in the stereo field, you shift both the left and the right track in that direction. If you pan a stereo track all the way left using true stereo panning, you will still hear all the audio, it will just be all on the left now.
- Binaural Panning - Binaural panning attempts to mimic how our ears and brain perceive audio and allows you to move to a sound closer or farther and to the right and left. A binaural panning option is doing more than just moving the sound in the stereo field, it is making adjustments to the sound to place it in space. Here is a great example of a song by Imogen Heap making use of binaural recordings.
The first style of panning in your tracks I’d like to discuss is panning for realism. By this I mean, using panning in your songs to match the way something appears in real-life. For example, think of a drum set. The hi-hat is on the left, the ride is on the right, the toms go from left to right, etc.

If you are mixing from the drummer’s perspective, you can use panning to make it feel like the listener is behind the drumset. If you mix the drums from the audience perspective, it will be the same thing just flipped and will make you feel in the crowd watching the drummer (which you choose is a matter of preference, though I’m partial to the drummer’s perspective).
Similarly, any instruments you are panning for realism would be to place them on a spot in your “stage” in your mix. A lot of sampled instruments even have realistic panning built in – this is common with keys patches that pan from left to right as you go up the keys to make you feel like the musician behind the instrument.
Besides for panning for realism, there is also panning for purely the intention of creating width. The most common way this is seen is through doubling takes. Remember how we said width perception happens when there are differences in the right and left channels?
Imagine you record the same vocal line twice. A human singer is incapable of performing the exact same take twice- there will be subtle differences in tone, pitch, and timing. These differences allow for the two takes to be panned, and create the illusion of width. This method is especially common with vocals and guitar, but can really be done with any organically recorded material.
Stereo miking is the technique of recording something with a pair of microphones equidistant from whatever is being recorded, then panning both recordings accordingly. Creating width of an instrument can also be achieved in this way.
While there are no rules for how you have to pan, there are a couple of standard guidelines that are generally followed. Kicks and snares are generally left to the center, as are lead vocals. This is because we want these to be very easily focused on in our mixes, and they help keep things grounded.
Another rule of thumb is to try to keep your mixes balanced. If you lean too many elements to one side, it will begin to feel uneven. Think of your mix like a scale that you want to place instruments evenly on each side so that it doesn’t tip too far in either direction.
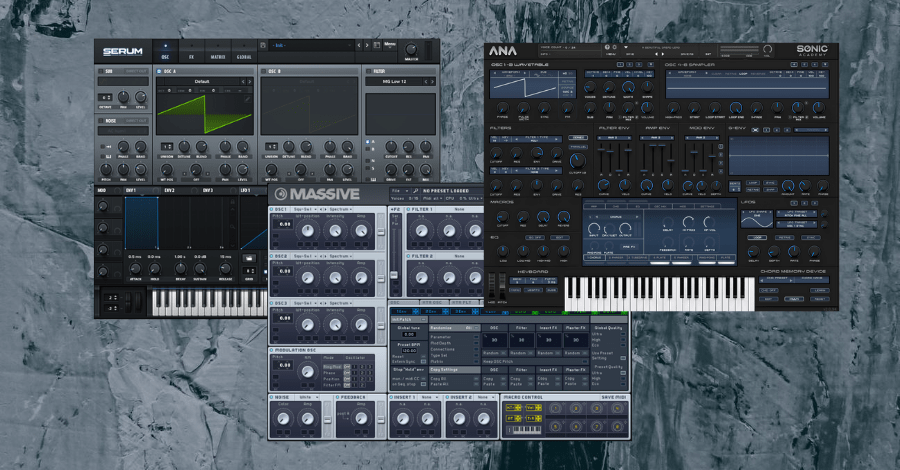
2) Width in Production & Sound Design
Especially in EDM, many of our sound choices for our productions can be wide from the get-go. With chorusing a standard effect built into pretty much all synths, and detuning and unison modes, lots of our favorite sounds are already quite wide.
When producing your sounds, take care to consider not just the tone of the sound, but how wide is it? Does it live in the center? The Sides? Both? Try to vary between these and you’ll find yourself getting bigger, fuller, and tighter mixes. Especially when stacking sounds, your width is like a puzzle and you want to make sure all your sound choices snap together.
How to stack sounds and complex sound design methods is something we go into much greater detail over at the Hyperbits Masterclass. If this is something you want to become an expert in, go take a look at it here.
3) Spacial Effects
Many reverbs create width when used. Adding even small amounts of reverb to a sound can put it into a space and make it feel wider and more realistic. Note that some reverb plugins allow for the adjustment of width to be made separately for both early and late reflections.
Most delays now also offer multiple modes to create more width. Ping-pong delay refers to when each iteration of the delay bounces to the opposite side of the stereo field, while there are also frequently other width modes that allow each delayed signal to become wider.
A slapback delay, or a very fast low-feedback delay (named because the delay is like a quick slap), is a great way to add some width to elements, especially vocals. Just set your favorite delay to ping pong, 1/16 notes or faster, and low feedback and mix in to taste!
4) Haas Effect
The Haas Effect is one of my favorite ways to add width to percussion elements, especially things like claps and snaps. This effect was discovered by Dr. Helmut Haas in 1949, where he noticed that when you delay a sound slightly from reaching one ear, you still perceive it as being one sound, yet your brain notices the delay and tells you that you are actually listening to a wide sound.
This means you can easily achieve making sounds wider by using a sample delay plugin to slightly delay one of the channels. I find when using this technique I like to also pan the sound slightly towards the direction of the side which is delayed to compensate for it coming in slightly late.
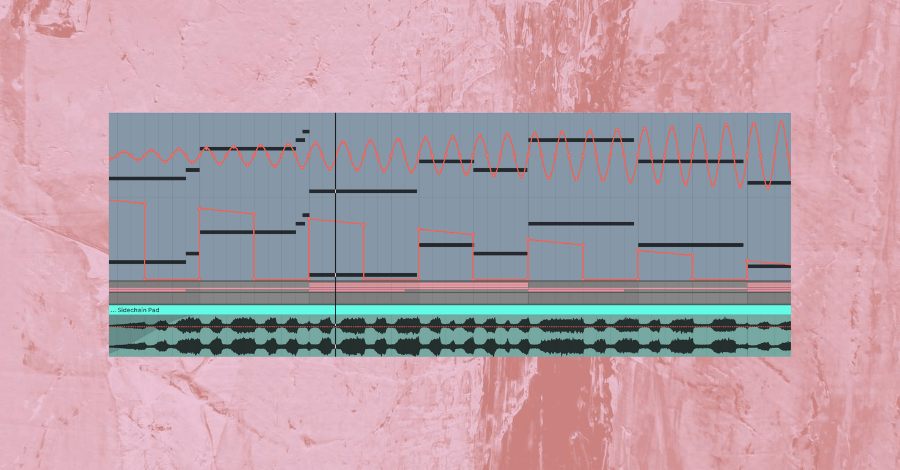
5) Automation/Movement
We’ve discussed all sorts of ways to create width, but one of the most fun and interesting ways is to use regular panning in odd and unnatural ways. Through the use of automation or specialized plugins, you can have tracks bouncing around your mix from side to side. Be careful not to overdo it though, as it can easily become distracting or distasteful.
I find that using this technique on some tracks throughout a mix creates a lot of movement and interest to a song, and helps combat “ADHD listening”, or getting bored while listening to the song.
One of my favorite examples of having things bouncing around a mix is this remix of Billie Eilish’s ‘Hostage’. Listen to how the percussion elements bouncing around create a feeling of controlled chaos, and add to the record without being overbearing.
6) Stereo Widening Plugins
Easily the most dangerous item on this list, stereo wideners usually do not sound very good and can end up destroying your mixes. I personally use most stereo width plugins to make a sound more narrow, and not wider. Stereo wideners have a nasty habit of creating odd phase issues, and just sounding weird and unnatural. It’s the kind of thing that is off putting that can distract a listener from a record.
7) Chorusing, Flanging, and Phasing
These are all effects that can add more width to a sound, but they are much more in your face and should be used sparingly and with intent to be a noticed effect.
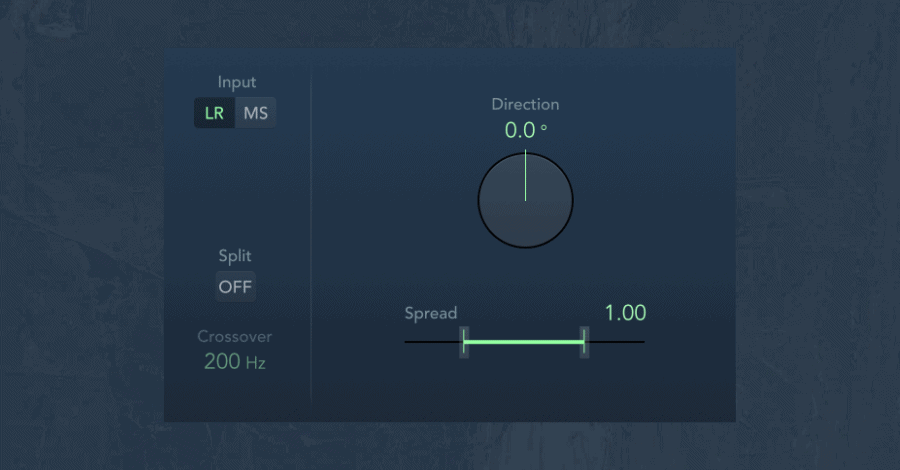
8) M/S Processing
Mid/Side processing, or M/S processing, is when a plugin or a piece of hardware separates the information that’s on the sides from the information in the center and allows you to process them independently. Through EQing or compressing in mid/side greater levels of width in a track can be achieved.
Our Favorite Width Plugins
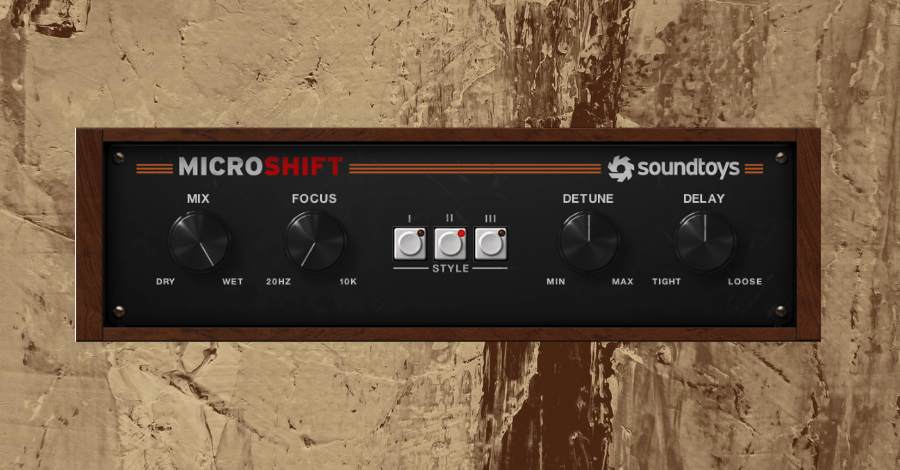
This nifty little plugin makes use of the Haas effect and by creating micro tuning adjustments to create width. I love using this when I want to make a track sound doubled when I only have one recording of it. This frequently happens with vocal harmony tracks that I want to “wrap around” the lead vocal. Using Microshift allows them to coexist without getting in each other's way.
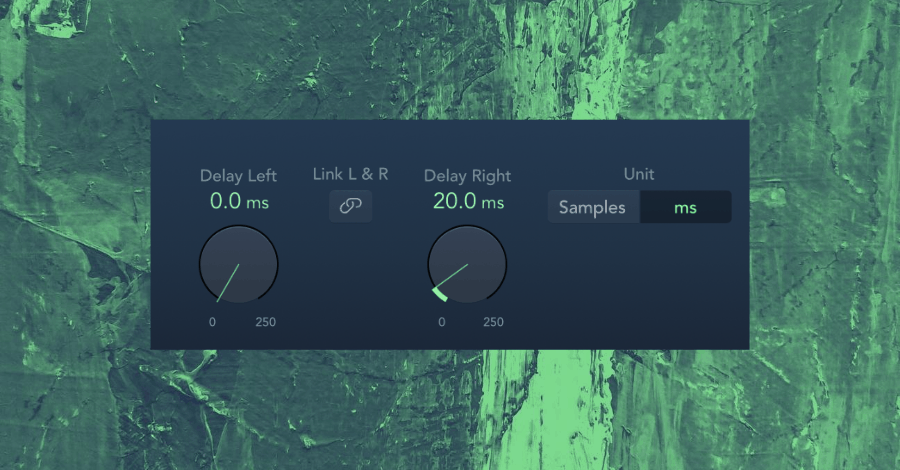
2. Sample Delay (Stock)
Your DAW likely has a plugin that can delay one side of a track slightly to create the Haas effect. As we mentioned earlier, we love this effect on claps, snaps, and other forms of percussion!
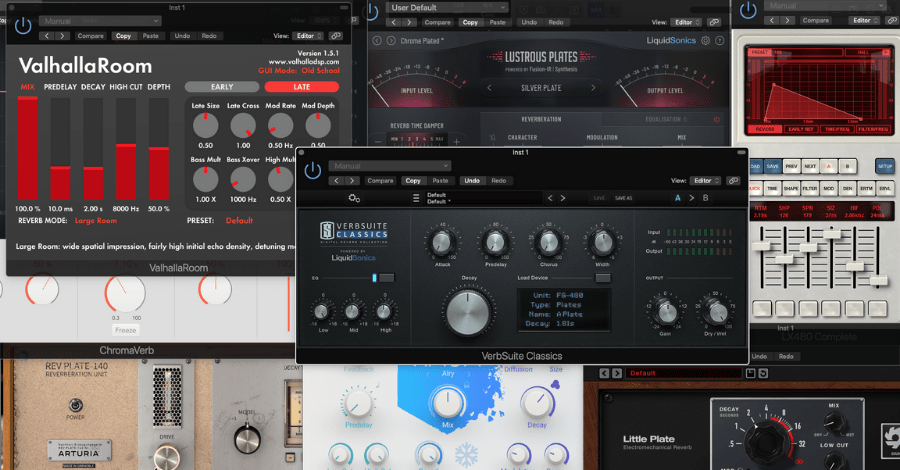
3. Your Favorite Reverb
We already covered all the best reverb plugins of 2020 in this post, go check it out!

4. Your Favorite Delay
We love Soundtoys Echoboy and Slate Repeater, but most competent delay plugins should include ping-pong and width options.
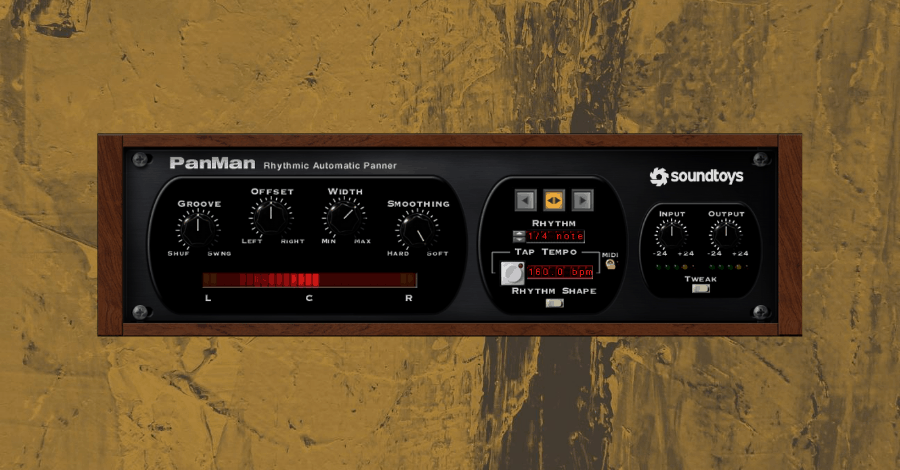
5. Soundtoys Panman & Cableguys Pancake
I’ve grouped these together because they are very similar plugins. They are both plugins that allow you to create pan automation that has sounds jumping around the stereo field. While Panman is great, I’ve found myself reaching for Pancake more as of recent to due to its greater customizability. Bonus points to Pancake as well for being a free plugin.
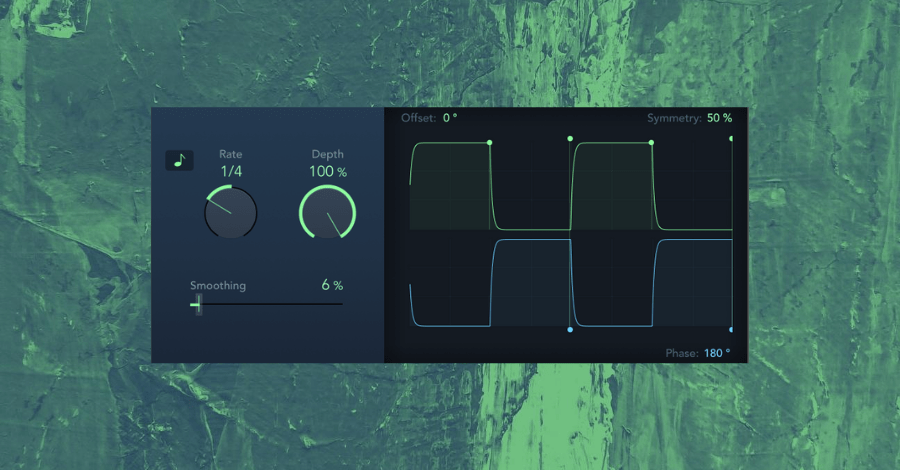
6. Your Stock Tremolo Plugin
Probably my most used stock plugin is the tremolo plugin, for this purpose. I love making things back and forth. I remember hearing the Zedd record ‘Addicted to a Memory’ and hearing that clap bounce back and forth and thinking it was utter genius. I do this in my original productions a lot and I think its a quirky little thing that adds interest.
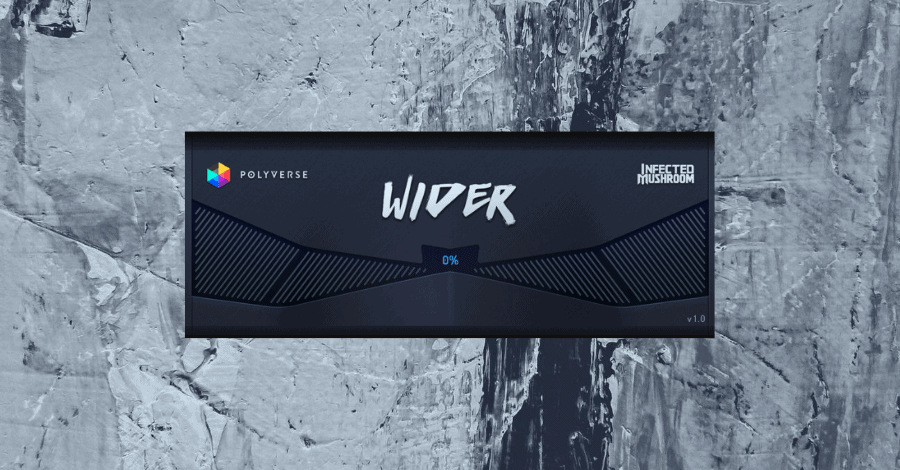
I know I said I dislike width plugins, but this is the only one I can really get behind. I love it. Wider works amazing when you want to push a sound out of the sides of the speakers a bit more. I especially like using it subtly as a bus-send on elements I want to make truly huge. Did I mention it’s a free download?
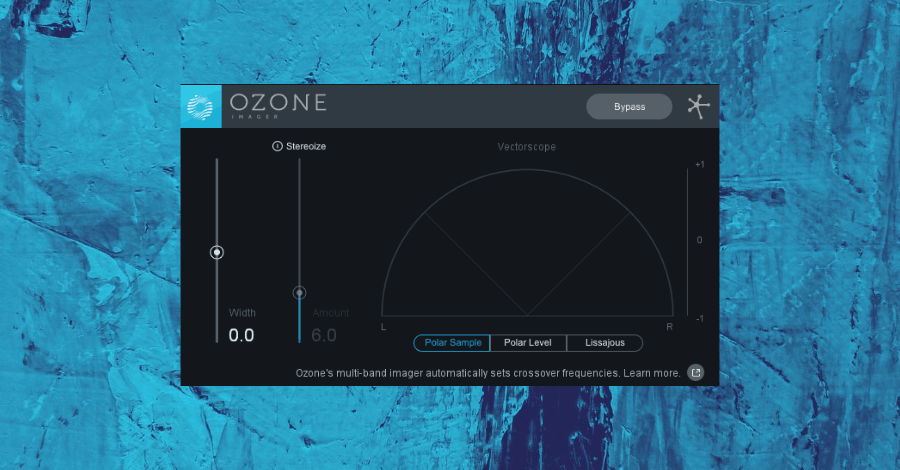
8. Ozone Imager
Both bundled with iZotope’s famed Ozone mastering suite and available as a free download with limited features, the Ozone imager is one of those plugins I’ve heard many a song ruined by. While it can work when used in very subtle amounts, I prefer to use it only to make tracks more narrow.

9. Voxengo MSED & Waves Center
These nifty little plugins allow you to adjust the volume and pan of the mids and sides of a track independently. Voxengo MSED is I believe the only free plugin I still use on my masters, as it can be a great way to control the overall width of a song in mastering.
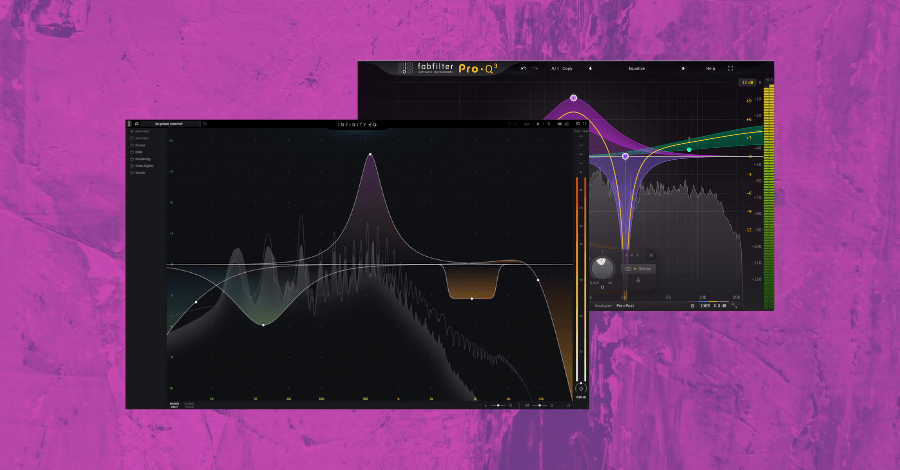
10. Fabfilter Pro-Q 3 & Slate Infinity EQ
Both of these EQ plugins offer mid/side processing, but Infinity EQ takes it to the next level by allowing you to adjust the percentage of how much mids and sides are affected by a move, even letting you make the same move inversely for the mids and the sides.
I like to use mid side eq when I want to carve out a frequency in the center to make space for the lead vocal, but I want to leave it in the sides so that I don’t detract from the sound too much.
Mid/side EQ is also a great way to push the brightness on just the sides by using a high-shelf and pushing just a couple dB of gain.
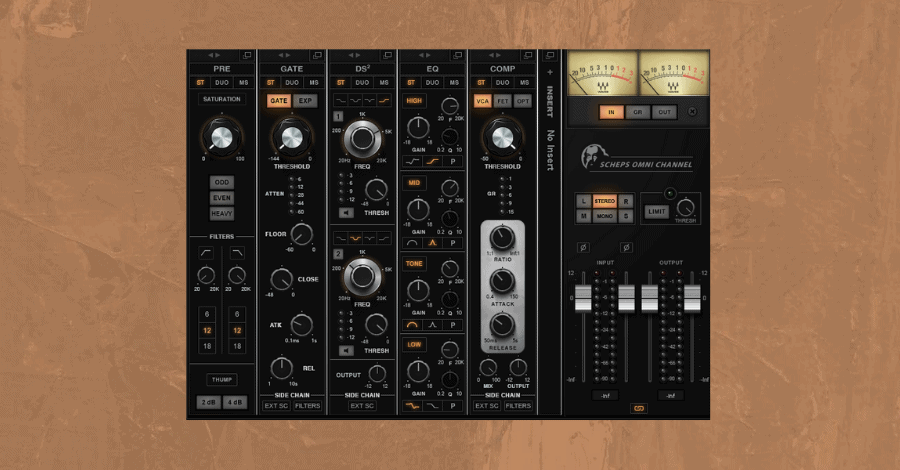
Capable of handling mid/side compression super well, the Omni channel is a fabulous channel strip with a lot of features and options. Every processor in this strip is capable of being run in mid/side mode, making it a great option for experimenting with unconventional moves.

Part of my favorite mastering bundle, the Weiss Maximizer has a width option that can be really cool when you want to simultaneously push a sound hard and give it some more width.
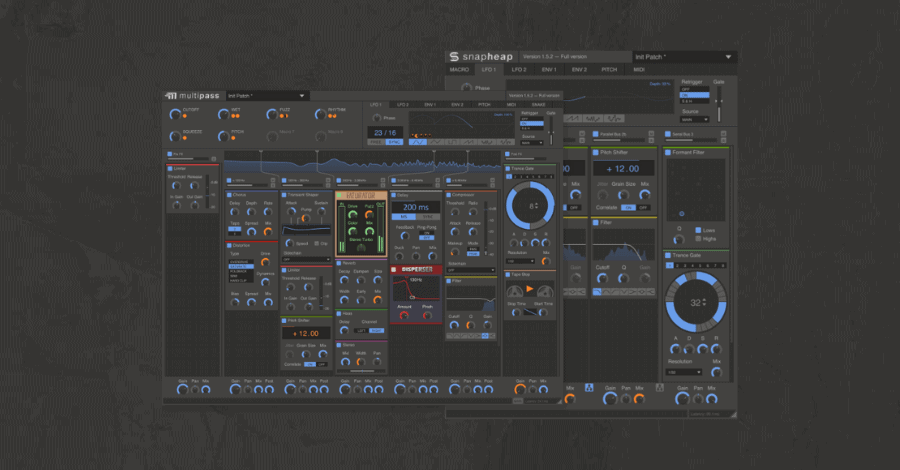
13. Kilohearts Bundle, Stock Effects, Serum FX & Soundtoys Bundle
These are all amazing options for chorusing, flanging, phasing, etc. to create width in a noticeable and intentional way.
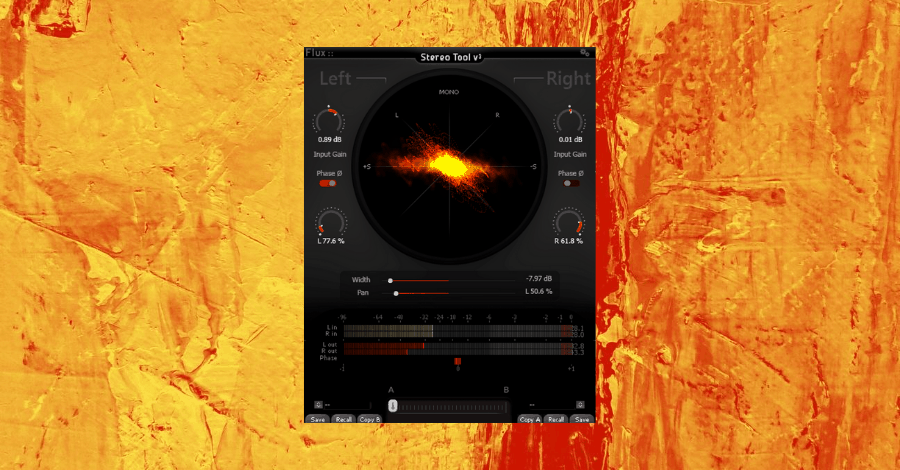
14. Flux Stereo Tool
An old Hyperbits favorite, this free stereo tool has many options for both monitoring width and controlling it.
Breaking the "Rules"
We already spoke about wide bass, now let’s get into some other unconventional panning decisions you can consider.
- Panning kicks and snares. Skrillex did it, why can’t you? I’ve even automated the panning of kicks in many of my original productions as a sort of fill effect. We also spoke about panning things to make them feel natural, and I find sometimes moving a snare slightly to the left can give a more organic, almost rock-life feel to a drum mix.
- Get wild with automation. We’re used to performers moving around their stage and jumping around, so why leave your mixes static?
- Experiment! Let things fly around your mix and see where it takes you.
- Throw any preconceived notions out the window. The Beatles are one of the most successful music acts of all time and are credited for laying down the foundation for modern pop. They were not afraid to pan things in the most extreme ways. Just listen to one of their most famous songs, While My Guitar Gently Weeps!
Putting It All Together
Proper panning/width is crucial to great productions and mixes as it can make or break whether the listeners will remain interested throughout a song. By making different parts of a song more or less wide, you can even add more dynamics to a song and increase its emotional impact!
Through the techniques we’ve discussed, you can make your mixes sound and feel larger than life, and make them more immersive. By understanding how we perceive audio, we can make listening to our songs even more of an experience that pushes the song further than just the writing.
After learning about how stereo works, how to achieve greater width in your songs, and which are our favorite plugins for manipulating width, you are now ready to knock out amazing songs that compete with the width and sense of depth that your favorite records have!
These Might Also Interest You:
The Top 20 Best EQ Plugins in Music Production